How to Create a Mood Board: A Step-by-Step Guide
I have started approximately fourteen vision boards in my adult life and finished a confident four of them.
The unfinished ones are not a character flaw. They are evidence of a very specific creative paralysis that I have finally diagnosed after years of blaming my scissors.
It goes like this. You have an idea, a project, a rebrand, a room you want to redesign, a life era you are trying to step into. The vision is clear enough in your head that you can feel it but blurry enough that you cannot quite explain it to another human without using the phrase “you know, just like, a vibe.”
You decide a moodboard will fix this. You open Pinterest. Forty-five minutes later you have 200 saved images, three conflicting aesthetics, and the specific exhaustion of someone who went looking for clarity and found more options instead.
As an affiliate partner of various brands and sponsored content, we may earn commission on qualifying purchases. Disclaimer | Advertise With Us
The problem was never the vision. It was the process.
A moodboard built with actual intention, not just a Pinterest board you threw images at until something stuck, is one of the most clarifying creative tools available to you. It makes decisions easier.
It makes communication faster. It makes the gap between the thing in your head and the thing in the world significantly smaller.
Here is how to build one that actually does all of that
Why a moodboard is worth your time
It makes your taste visible.
You already know what you like, but it is scattered across screenshots, saved posts, and little moments. A moodboard collects your preferences in one place so you can spot patterns fast.
It helps you make decisions faster.
When you know your vibe, you stop buying random things that do not match your life.
You choose outfits, decor, content ideas, and goals that fit the version of you you are becoming.
It pulls you out of “meh.”
Motivation is not always a pep talk. Sometimes it is a visual reminder of what you are working toward. A moodboard makes your dream feel close enough to take action.
It turns vague goals into clear ones.
If your board is full of calm mornings, clean spaces, and strong routines, that is not just aesthetic. That is data. It tells you what your nervous system is craving.
It is a creativity reset.
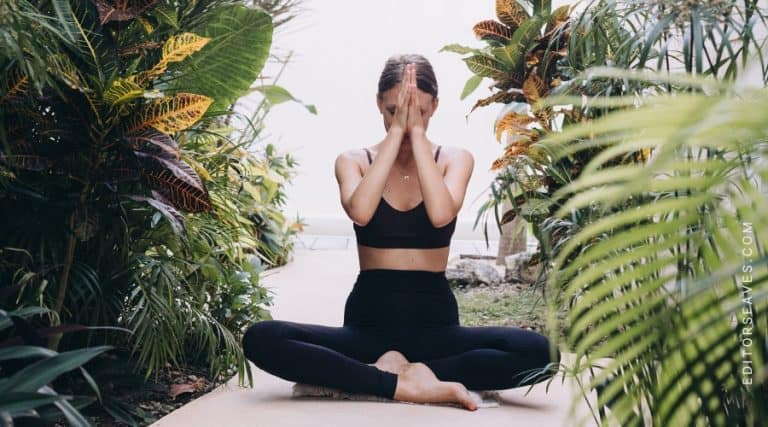
Making a moodboard gives your brain permission to play. And play is often where the best ideas show up.
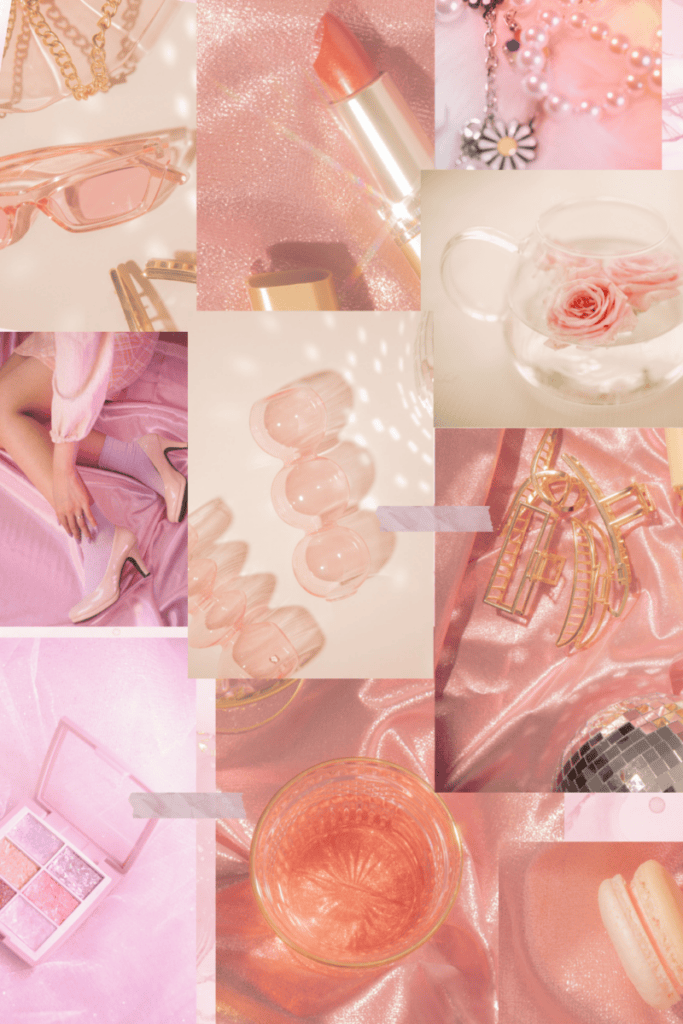
What to put on your moodboard
Pick a theme for the next 3 months, not your entire life. Examples:
- “Soft life, but still ambitious”
- “Healthy habits and main character energy”
- “Creator business glow up”
- “Cozy home, calm mind”
Then collect:
- images that match the vibe
- words that describe the feeling
- colors, textures, outfits, rooms, routines
- symbols of goals: a calendar, a savings chart, a stage, a passport
Pro tip: if something makes you feel a little spark of “yes,” save it. If you have to convince yourself, skip it.
How to Make a Moodboard, in 5 Easy Steps
Step 1: Know what the moodboard is actually for
Before you touch a single image, finish this sentence.
“This moodboard exists to help me decide…”
A rebrand. A room. A content direction. A whole new era you are trying to step into but cannot quite explain yet without using the word “vibe” three times and hoping for the best.
One moodboard. One job. If it is trying to do everything it will do nothing, and you will end up with a very pretty document that makes zero decisions easier, which is somehow worse than having no moodboard at all.
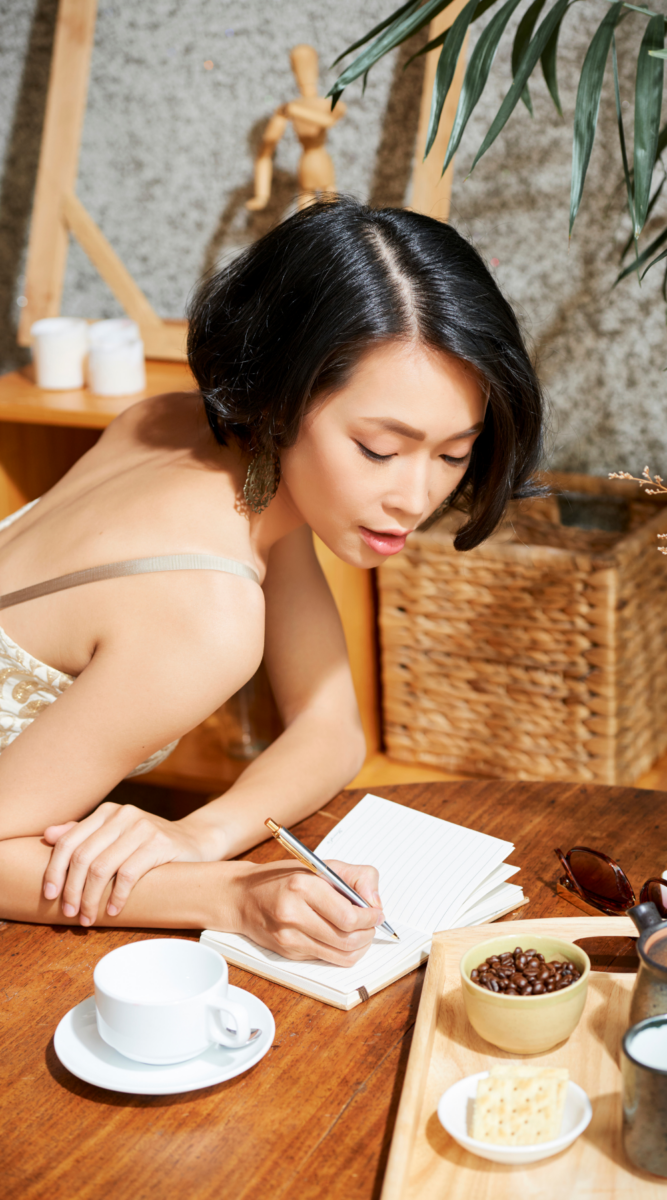
Step 2: Write the feeling before you find the images
I know you want to open Pinterest right now. Give me five more minutes.
Write down five words for how the finished thing should feel. Not look. Feel.
“Clean and modern” is a look. “The energy of a hotel lobby where someone has genuinely thought about the lighting” is a feeling. One of those will help you choose between two nearly identical images later. The other one will not.
Your words do not need to make sense to anyone else. They just need to be true.
Step 3: Collect everything, judge nothing
Now you can open Pinterest. And your camera roll. And that folder of screenshots you have been saving for two years under a filename you will never remember.
Collect anything that produces a physical yes reaction. Do not ask why yet. Do not edit. Just gather.
Set a timer for thirty minutes or you will still be here at 11pm having saved four hundred images and somehow ended up on a completely different aesthetic than the one you started with. The timer is non-negotiable. Ask me how I know.
Step 4: Edit!
Here is where most moodboards quietly fall apart.
People keep fifty images and call it done. What they have is a mood folder. Slightly more organized than their Pinterest saves but not actually doing anything useful.
Go through everything and ask one question per image: does this make the vision clearer, or does it open a new conversation?
If it opens a new conversation, it goes. Even if you love it. Especially if you love it. The images you love that do not belong are the ones that will slowly pull the whole thing sideways and you will not figure out why until three wrong decisions later.
Keep ten to fifteen. Maximum. Edit with conviction.
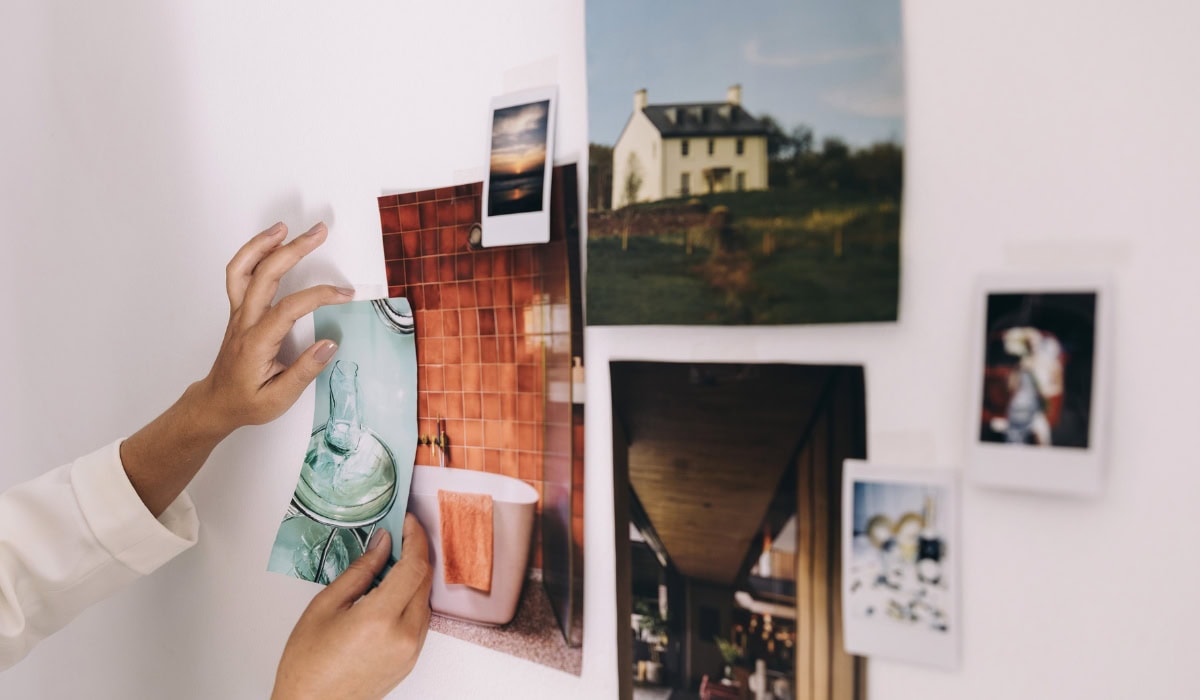
Step 5: Arrange it so the story is obvious in ten seconds
Lay everything out together and look at it as a whole.
Can you feel the point of view immediately? Is there a clear dominant energy, a color story, a mood that announces itself without requiring explanation?
If yes, you have a moodboard. If the answer is “it depends which corner you look at,” you have more editing to do.
Anchor image in the center or the largest space. Supporting details around the edges. Colors that agree with each other, living near each other. That is genuinely all the arrangement theory you need.
Canva works. A Google Slides blank canvas works. A physical table covered in printed images works. The tool is not the point. The clarity is the point.
Step 6: Actually use the thing
A moodboard that lives in a folder is a creative warm-up exercise.
A moodboard you open every time you make a decision about the project, every font choice, every caption, every brief you send to a designer, that is a tool.
Pin it somewhere you will actually see it. The five-minute decisions you make without looking at it are the ones you will spend an hour undoing. The ones you make with it open in front of you tend to feel obvious in a way that makes everything move faster.
Which is the whole point. Not a beautiful document. A better outcome.
How to Make a Moodboard – Conclusion
A good moodboard does something that a brief, a mood description, or a very enthusiastic verbal explanation cannot.
It makes the invisible visible. It takes the feeling you have been carrying around in your head, the one you have been describing with words like “warm but modern” and “editorial but approachable” and “clean but not cold,” and gives it a form that other people can actually see and respond to.
Which means fewer revision rounds. Fewer moments of “that is not quite what I meant.” Fewer projects that arrive at the finish line looking like a distant relative of the original idea.
But honestly, even if you are making it entirely for yourself, even if no one else ever sees it, the act of curating a moodboard is a commitment. It is you saying, out loud in images, this is the direction. This is the standard. This is the thing I am building toward.
That kind of clarity is rarer than it sounds. And it is almost always worth the forty-five minutes.
Even if you do save two hundred images first. We do not judge the process here. Only the outcome.